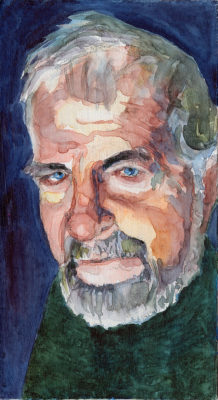
In December I wrote, “Five Things To Do When You’ve Got Paper That’s Just Too Bad To Work With.”
In that post I wrote about gessoing over paper that you don’t enjoy working on so that you can still use the paper, but not feel limited by the paper in its manufactured state.
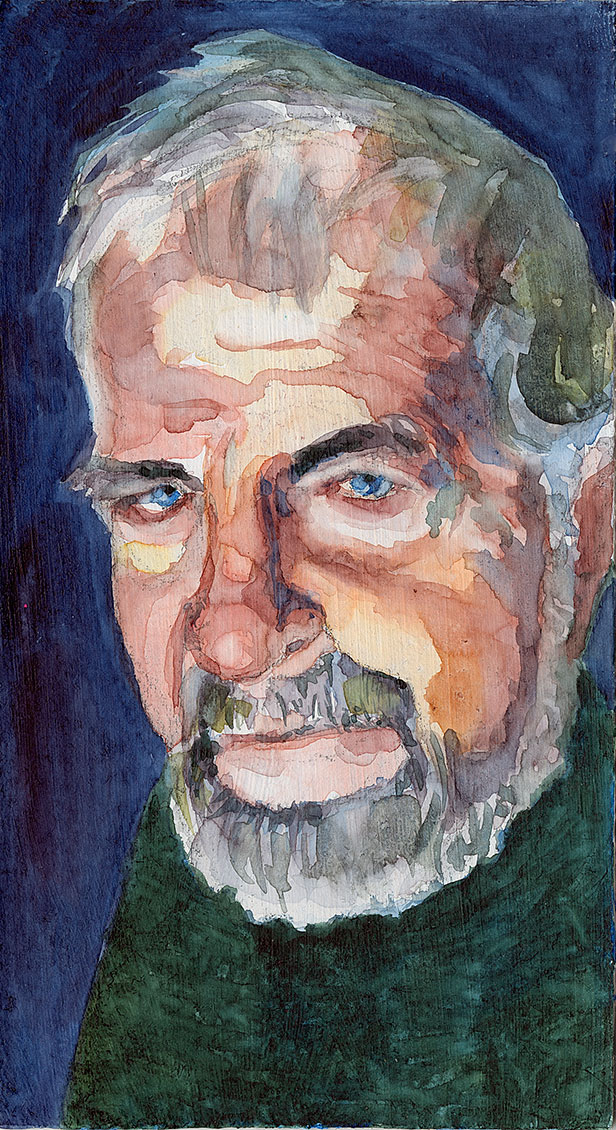
I also mentioned that I frequently gesso leftover scraps of book board and then use those boards for watercolor or gouache paintings. Several people wrote and asked me how I prep my board.
Prepping your boards is something you can do in a half hour before you leave for work, or before you go to bed, or while you are waiting for diner to cook…you get the idea. This is an action you can fit into your otherwise busy day so that you’ll have painting surface ready to use when you want it.
Note: Be sure to trim your scraps before you gesso them. It’s easier to cut straight edges with the nude board. Also, uneven edges can catch gesso in lumpy layers which might make fitting the pieces into a frame difficult. And of course if you have usual frame sizes that you like to use, it’s great to pre-trim the scraps so they will fit those frames.
How To Coat Your Boards
- Put some newspaper or a plastic sheet on the floor (or table) and lay the boards out.
- Use a large foam brush if you want an even texture. A foam roller will also help you create an even application of gesso. If you want something that shows the strokes more boldly try using a 2- or 3-inch painter’s brush (inexpensive and available at any hardware store).
- If you want a smooth texture sand between applications of gesso so that you are building on a smooth layer. After sanding a layer be sure to clean the surface by wiping the gessoed board with a tack cloth, or brushing away the residue from sanding with a dry brush, or using a vacuum. (I like to use a tack cloth.)
For sanding I use a 3M sanding block and some fine grit sand paper. Those are also available at any hardware. I sand uniformly in one direction, then in a direction perpendicular to the first direction, and then return to the first direction. Sometimes I sand in a circular motion (which imparts texture to the finished surface). Experiment.
Remember not to sand the gesso until a layer is completely dry.
On your final layer go crazy with your gesso strokes if you want them to be visible. Watercolor will puddle and pool in the strokes and make interesting effects.
How Many Layers Of Gesso Do You Need To Use?
One layer, if it completely covers the board, is probably sufficient, but sometimes we don’t realize that we are leaving small open areas. The point of using gesso on the board it to isolated our painting from the board so that nothing from the board migrates into the painting’s surface, and nothing from the painting seeps down into the board and degrades it. I like to use three layers of gesso.
Using Other Surface Products As A Final Layer On Top Of Gesso
Once you have gessoed your board you have a wide range of additional products you can use as your final surface. It is important to gesso the board before applying these final working surfaces because the gesso provides a barrier between your board and your work as explained above.
Pastel Primer
If you are working with pastels make your final layer a pastel primer product. It’s essentially a tinted gesso with tooth to catch the pastels. Art Spectrum makes a wonderful pastel primer: ColourFix Primer. It’s available in a bunch of colors. I love the Burgundy and the Deep Ultra (as in Ultramarine blue). (I’m not connected to Blick or Art Spectrum, this is just the first link that came up.)
I apply two layers of regular gesso, sanded as described above before I add my final layer of pastel primer. You can see a color pencil sketch of an English Blue Cock I did on such a primed surface here.
This board was primed and sketched on as class demo so the surface is not as even as you can make it if you work at it. (Note: disregard the caption this work is not available.)
Here is another work of color pencil on a piece of pastel primed paper: a heron.
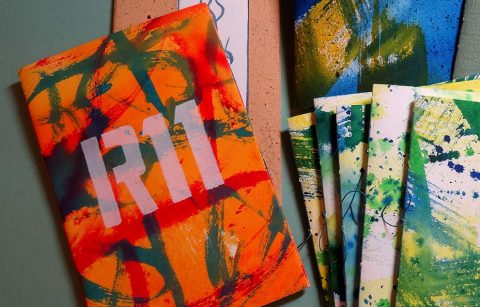
I have used pastel primer on artist’s books as in the back book “Natural Law” in this image.
In the last 10 years I’ve found that I rarely make the more detailed color pencil drawings I did in the 1980s and 1990s. I have focused instead on ink and watercolor work. I still use color pencil in my mixed media work and do layering demonstrations for students, but I haven’t kept track of the products you’ll need to use to protect your pastel or color pencil work on this primer material. You are going to need to protect it unless it’s going to be framed behind glass.
If you are going to use the pastel primer for smudge-able media on a surface that will be handled (like an artist’s book) I recommend that you spray the work with several layers of a quality non-yellowing resin finish or varnish to protect it. (Always test a scrap to see how it reacts with the materials you’re using and how it alters the colors of your work. And test that the coated piece has the smudge resistance you desired.)
The pastel primer is a great product for preparing surfaces for mixed media involving acrylic paint, acrylic medium, and dry media. (Framing such works will eliminate the need to use spray finishes.)
Other Acrylic Media
Once you’ve prepared a board with acrylic gesso you can of course turn to other acrylic media for dimensional effects. I enjoy using Golden’s Light Molding Paste applied through stencils. (When the stencil is lifted off the stencil design is left in a dimensional state, which when dried will influence how you paint or work over it). Everywhere you put another medium you’ll change the tooth of the primer’s surface, but with a bit of preplanning you can work out how to combine all the media you wish to incorporate. You might elect to put down two layers of gesso, add your molding paste textures, and then apply the pastel primer so that you retain your pastel primer texture over your entire surface. Be sure to adjust the depth of your molding paste application so that it doesn’t become clogged with primer, causing you to lose that texture.
Absorbent Ground
If painting on gesso seems too slick and fast—the paint doesn’t sink into the gesso and is great for wet, drippy approaches—you can always coat your scrap boards with two layers of regular gesso and then finish off the final painting surface by adding a layer of Absorbent Ground. I wrote about this product in my December post as well. It creates a coating on the surface that reacts to watercolor more like watercolor paper would.
Final Thoughts
Be sure if you’re painting on gesso or another acrylic primer/medium surface to use artist quality products with a high pigment load or you will find it difficult to get final works that have vibrancy and contrast.
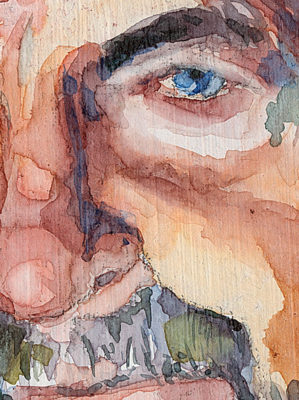
I like to use Daniel Smith tube watercolors or Schmincke Horadam pan watercolors. For gouache I use Schmincke Horadam Gouache which is an artist’s quality paint without added opacifiers which means it will have a clean look when used in more translucent washes on a prepared board that I’m writing about today. You’ll see differences in texture between the watercolor and gouache, and you’ll develop preferences for which pigments and paints give you the effects you enjoy.
Try to minimize the stroking and rework you do on gesso. Yes it’s easy to lift off watercolor or gouache from a gessoed board— that’s one of the fun things about working on this surface. However, if you keep going into your washes they will become muddy and dull, just as they can do on paper.
Have fun experimenting.
