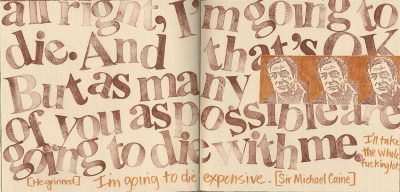
From the 1980s until November 2016 I gathered a rather large rubber stamp collection.
I used the rubber stamps for mail art and as art tools in my journaling and art. While I gave most of the stamps (and storage boxes and index) to a young stamper in 2016 (in a move I realize now was the actual beginning of “the Downsizing”), I still have a few stamps and a few alphabets.
I still use them in my journals and art—though they are currently not all unpacked so you won’t have seen any evidence of them in my work for the past 3 years or so.
Recently I did buy some new ink pads and you’ll start to see some stamping and stamp ink creeping back into the journal images as I post new work.
Stamping again has been great fun. It’s like a long-anticipated vacation to the best destination ever.
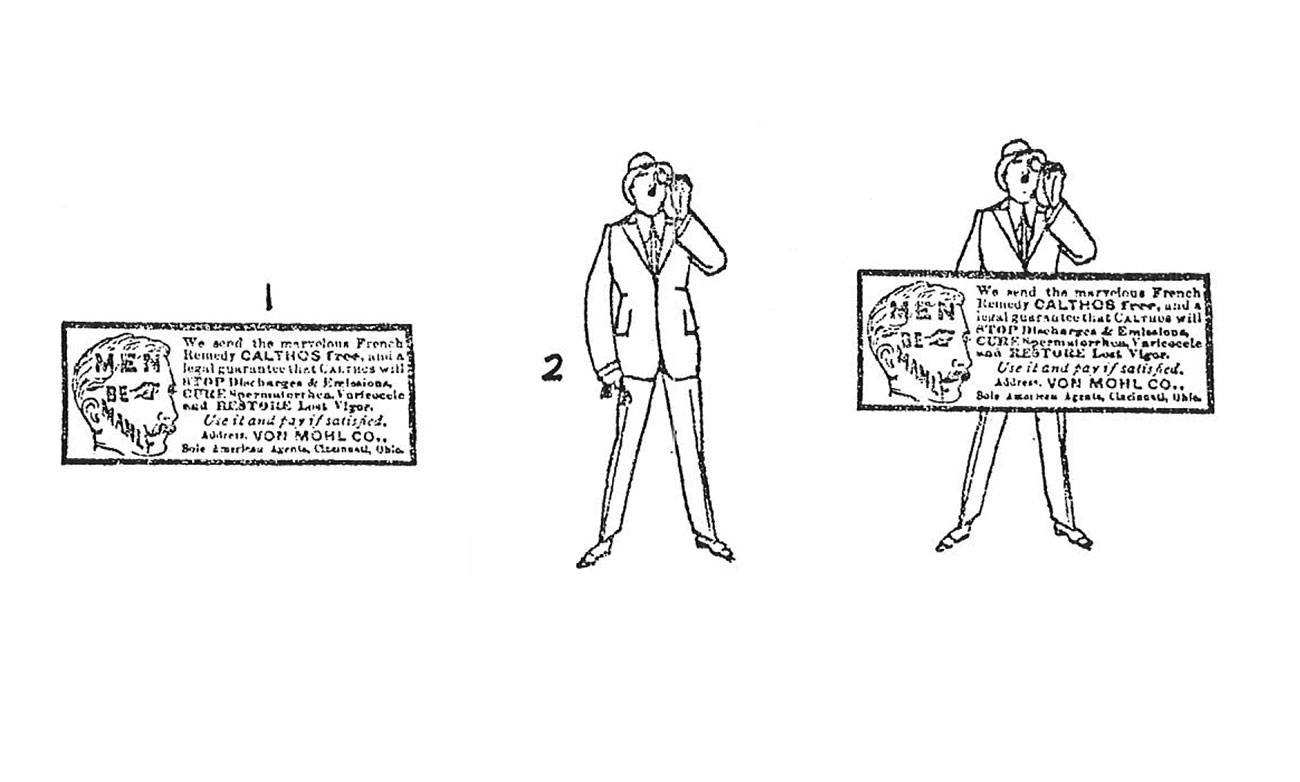
After the latest water incident in the basement which took out my teaching files I dried out what I could salvage and I found some fun stuff including a “retro” handout on masking.
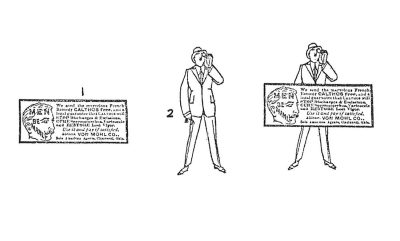
I made the handout because in my mail art and journaling classes I’d have students who couldn’t wrap their minds around the masking process without something to hold in their hand showing steps.
For some younger readers it might be difficult to remember or even understand that there was a time before personal computing and the introduction of page make up programs like Page Maker, QuarkXpress, and InDesign which allowed you to layout your documents in a sophisticated format.
We’re talking the early 1980s.
But I still had zines, newsletters, and handouts to create. So I did it all old school with a toner copier and a word processor. And cut and paste. Those paste-ups were then photocopied on the toner copier. “Instant” handout.
In the download at the end of this post you will find my handout on masking, with tips on how to cut your masks. All of this is still valid information, because masking hasn’t changed. It’s just all in a retro package. (Oh and with a couple typos and write-os I’m sure.)
Yes, there were also handouts on paste-up because well into the 2000s I was still teaching old school paste-up as an essential way to make black and white zines. Those handouts, however, didn’t not survive the flood.
Coming across this handout was a joy for me. It reminded me how I’d always loved making handouts. (I actually made handouts when I was the “president” of a local Barbie Fan club. I think making handouts is probably something in my genes.)
From today’s handout to the 1987 release of QuarkXPress which made it possible to easily create columns, set type, and place images was only a small time leap. But it was a huge emotional thrill for someone who had grown up loving books and newspapers.
I continued doing my class handouts, which became elaborate booklets, on Quark and then InDesign. I really enjoyed the desktop computer revolution!
I hope you’ve had a chance to enjoy the revolution too! But either way—get stamping!
